
Binoculars budget
Binoculars trade off size, glass quality, and weight against price. A $100 pair can outperform a $500 model for birding if the glass is clean and the optics are well-corrected. For astronomy, larger objective lenses matter more than brand prestige, but they demand a tripod.
The best binoculars under $150 often use Bak-4 prisms and dielectric coatings. These features match mid-range performance without the premium tax. Celestron Nature DX and Vortex Diamondback HD frequently appear in top spots for their clarity and durability. They are solid choices for day-to-day use.
If you can stretch to $300–$500, you get better edge-to-edge sharpness and lighter weight. Nikon Monarch M7 and Zeiss Terra ED excel here. The jump in performance is noticeable but not always necessary for casual birding or hunting.
Avoid spending more than $1,000 unless you need extreme magnification (15x50+) for astronomy or specialized birding. At that price, you are paying for niche features like waterproofing, nitrogen purging, and premium eyepieces. For most readers, a $200–$400 binocular is the sweet spot.


As an Amazon Associate, we may earn from qualifying purchases.
Shortlist the best binoculars for your needs
Finding the right pair of binoculars means balancing magnification, objective lens size, weight, and budget. There is no single perfect model, but a few options consistently rise to the top for specific use cases like birding, hunting, and astronomy.
The Nikon Monarch M7 remains our top pick for most users. It offers excellent clarity, bright images, and a comfortable ergonomic design that works well for extended viewing sessions. It’s a versatile all-rounder that handles everything from backyard birding to distant landscape scouting.
For those on a tighter budget, the Celestron Nature DX delivers impressive performance for the price. While it lacks some of the premium coatings of higher-end models, it provides sharp, colorful images and is rugged enough for outdoor adventures. It’s a solid choice for beginners or casual users who don’t want to invest heavily upfront.
If you prioritize portability, the Vortex Triumph HD 10x42 is a strong contender. It’s lightweight, waterproof, and fogproof, making it ideal for hiking and travel. The HD glass ensures crisp images even at higher magnifications, and Vortex’s swap-forever warranty adds peace of mind.
For astronomy enthusiasts, the Celestron TrailSeeker ED stands out. The extra-low dispersion (ED) glass minimizes chromatic aberration, which is critical for viewing celestial objects. It’s heavier than standard birding binoculars but worth the trade-off for stargazers who need color accuracy and contrast.
Below is a quick comparison of these top picks to help you decide which features matter most to you.
| Model | Magnification | Best For | Price Tier |
|---|---|---|---|
| Nikon Monarch M7 | 8x42 | All-Around | Mid-Range |
| Celestron Nature DX | 8x42 | Budget | Low |
| Vortex Triumph HD | 10x42 | Portability | Mid-Range |
| Celestron TrailSeeker ED | 8x42 | Astronomy | Mid-Range |


As an Amazon Associate, we may earn from qualifying purchases.
Inspect the expensive parts
Binoculars are precision optical instruments, but the most common failures aren't in the glass—they're in the mechanics. Spending hundreds or thousands on a pair is only as good as their longevity. This checklist targets the specific failure points that cost the most to repair or replace: the internal prisms, the focus mechanism, and the waterproof seals.
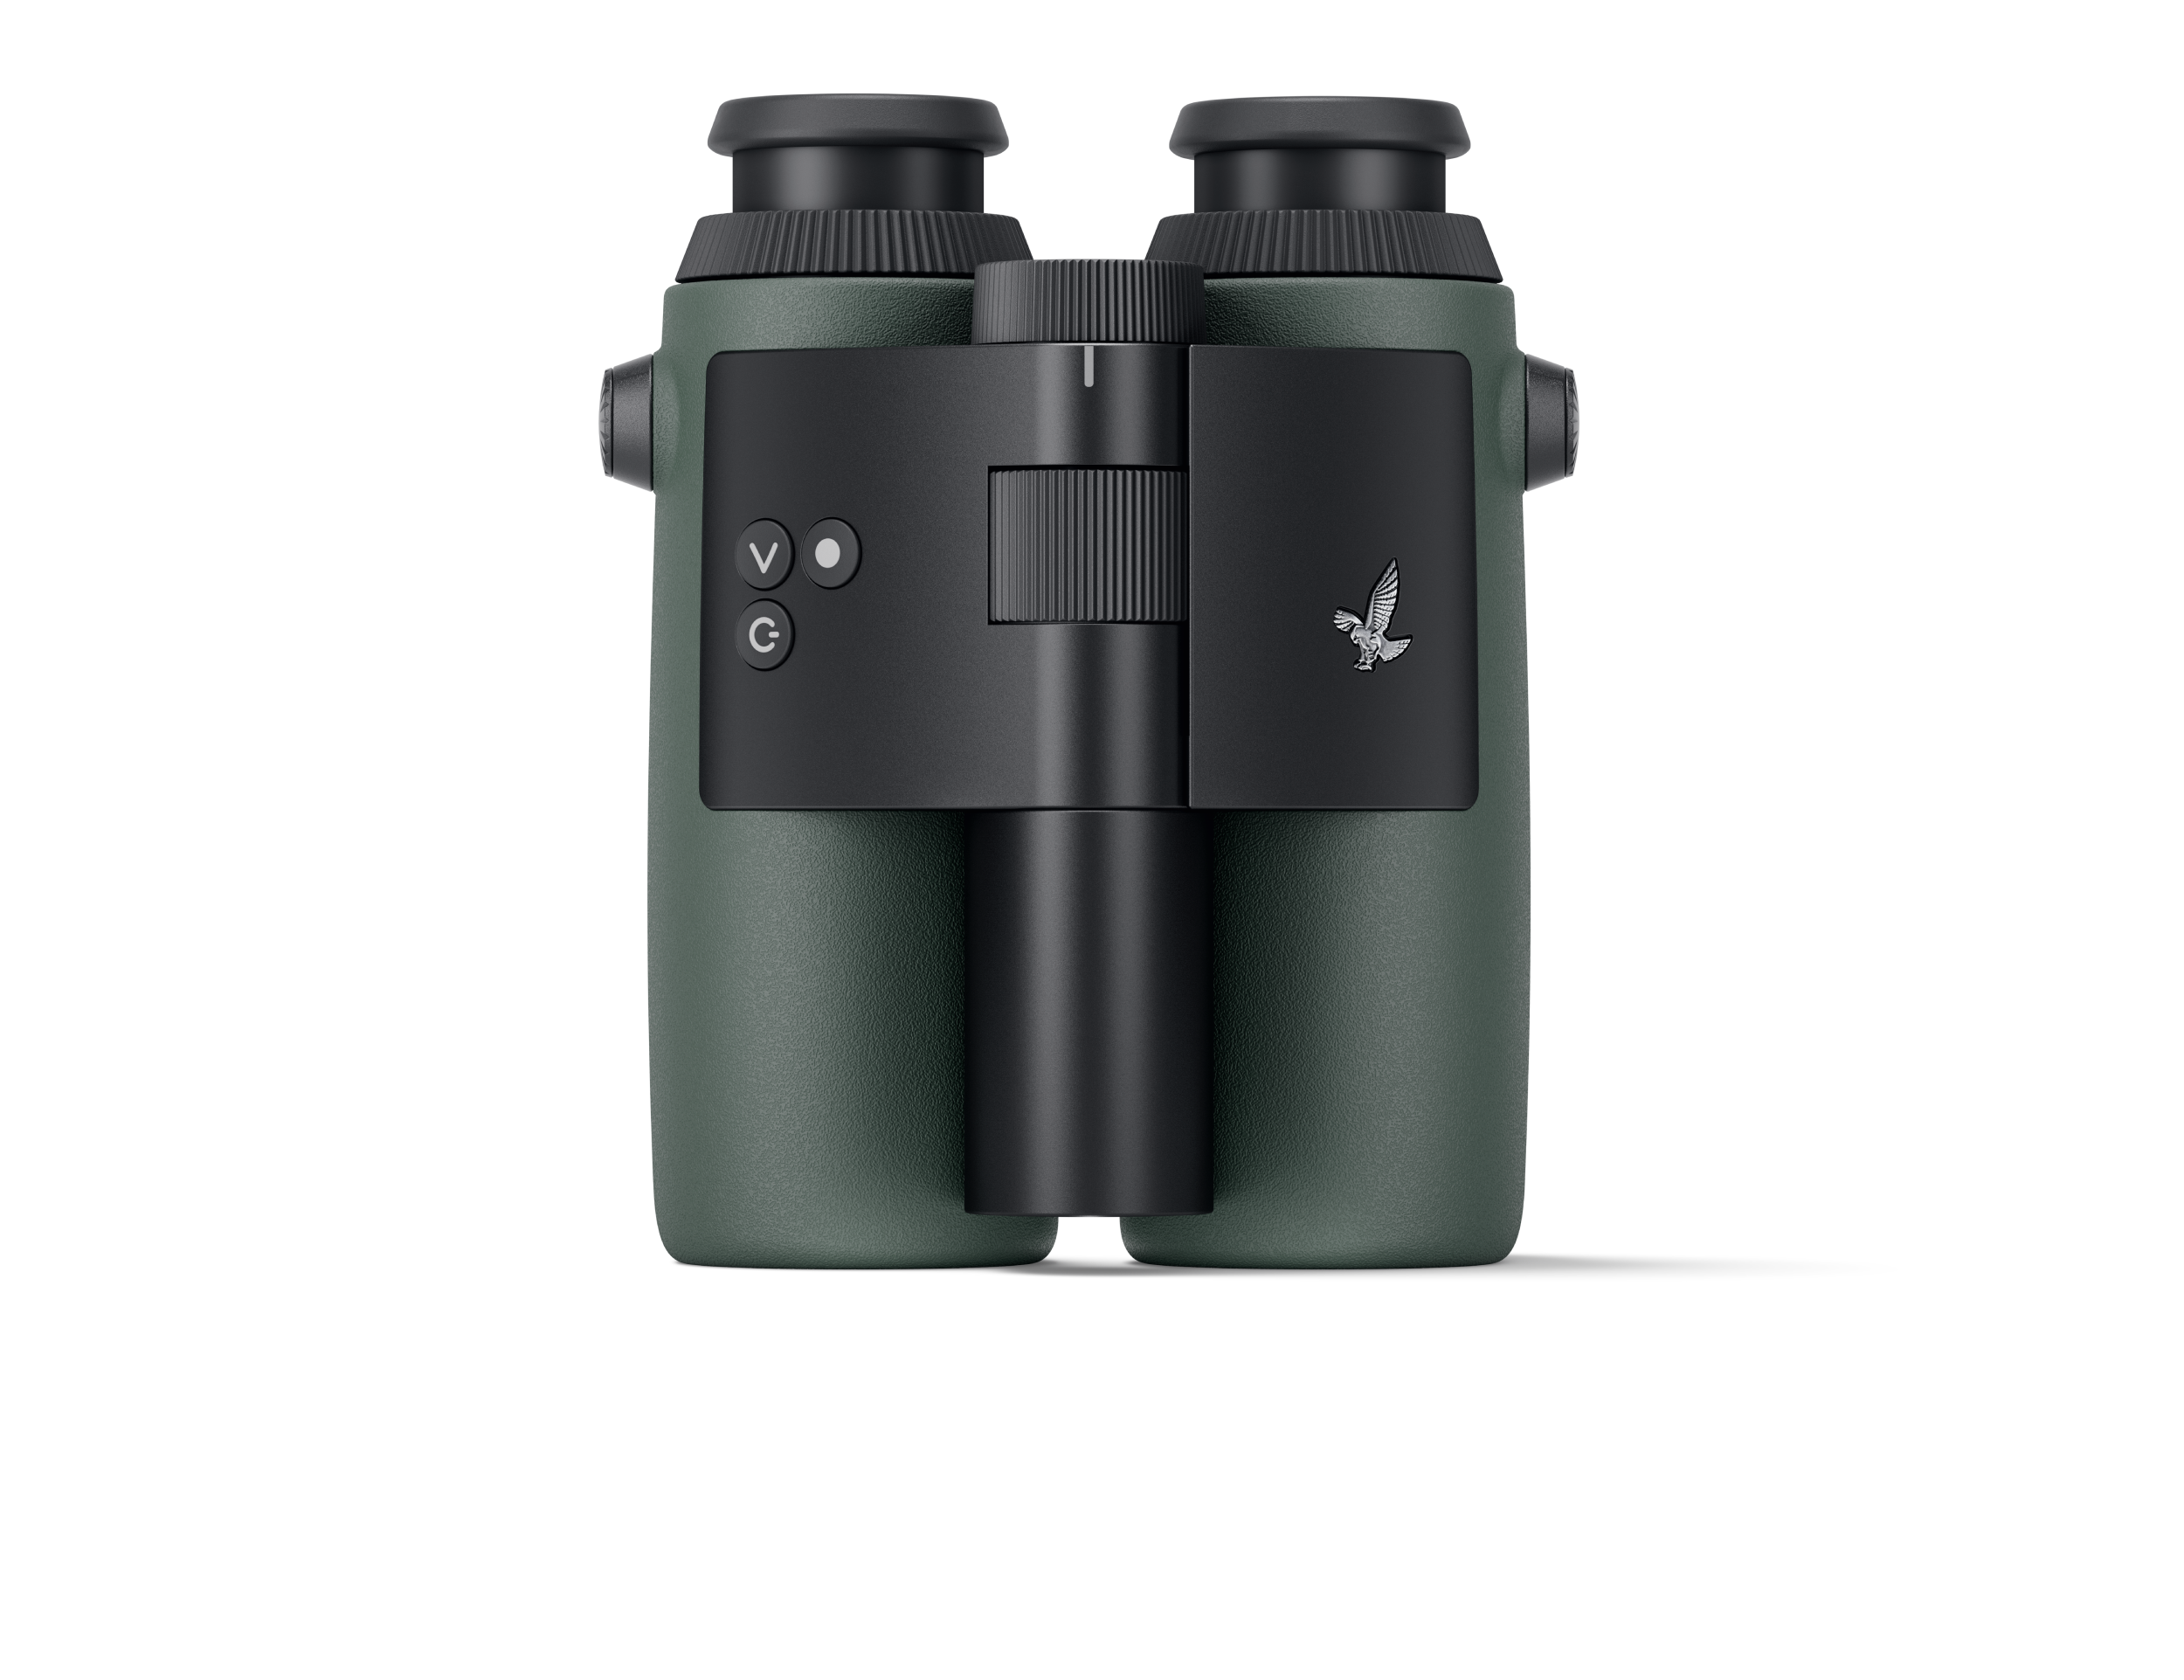
Look through the eyepieces in bright, even light. If you see faint clouds, spots, or a "smoke" effect inside the barrels, the nitrogen or argon seal has failed. Once moisture gets in, fungus grows on the cemented prisms. This is a total loss; you cannot clean it out. Avoid any unit with even the slightest internal haze.

Rotate the central focus wheel from one extreme to the other. It should move with consistent, smooth resistance—neither gritty nor loose. If it feels "scratchy" or has dead spots where the focus doesn't change, the internal gear train is worn or misaligned. A loose focus knob means you won't be able to track fast-moving birds or game, and the repair cost often exceeds the value of the binoculars.
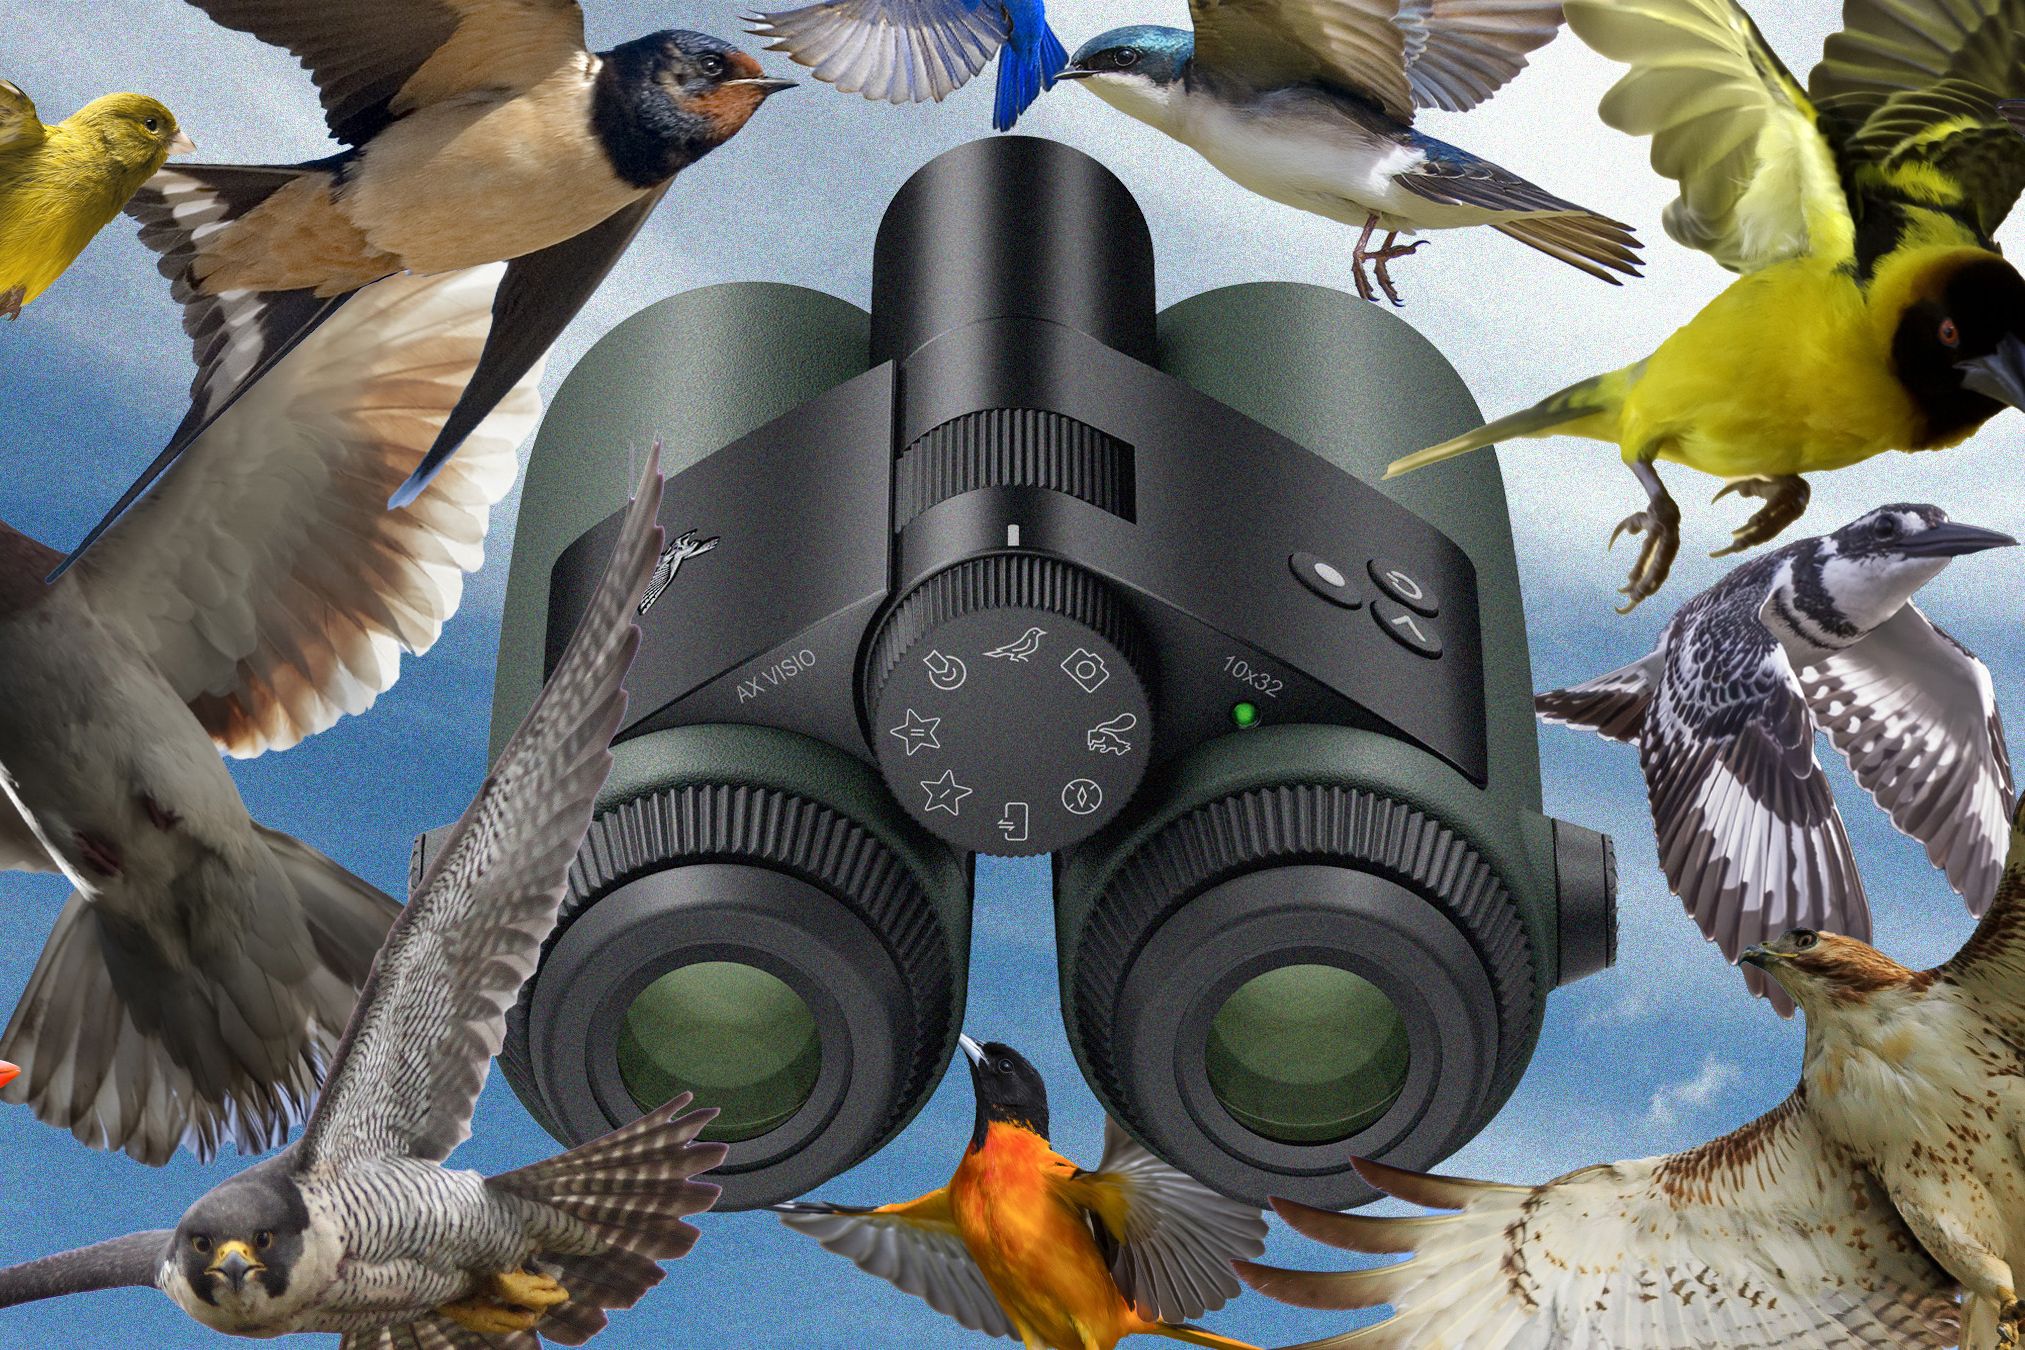
Check the rubber armor for cracks, especially around the hinge points where the two barrels connect. More importantly, look at the O-rings near the focus knob and eyecups. If the rubber is brittle or the O-rings are missing, water and dust will enter during rain or high humidity. Ensure the binoculars are explicitly rated "waterproof" and "nitrogen purged" for long-term reliability.
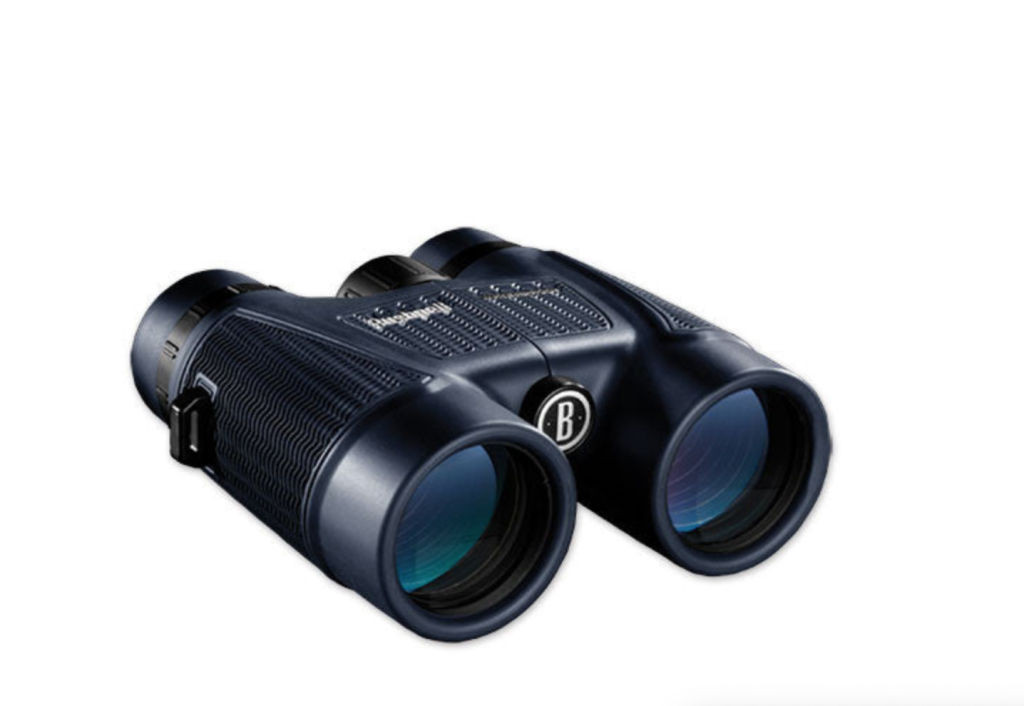
Locate the diopter ring on the right eyepiece (it usually locks in place). Unlock it and rotate it fully. It should move smoothly and return to its zeroed position without slipping. A stiff or slipping diopter means you can't properly align the binoculars with your eyes, leading to eye strain and inaccurate distance judgment. If it doesn't turn freely, the internal lens alignment is compromised.
By running through these four checks, you filter out units that will fail prematurely. The glass itself is rarely the issue; it's the mechanical integrity that determines if your investment lasts for years or just a season.
Plan for ownership costs
The sticker price is only the first expense. Binoculars are precision instruments that require specific care to maintain their optical performance and structural integrity. When you buy a budget pair, you often pay later in replaced parts, damaged coatings, or the eventual need to buy a new pair because the cheap build couldn't handle the elements.
The hidden costs of cheap optics
Cheap binoculars often lack proper waterproofing and nitrogen purging. This means moisture gets inside the lenses, causing fungus to grow on the internal glass. Once fungus takes hold, the optics are ruined. A $50 pair that fogs up and molds in a humid forest is more expensive than a $300 pair that lasts a decade because it was built to withstand the environment.
Maintenance and accessories
Proper care extends the life of any binoculars, but it costs time and money. You will need a microfiber cloth and lens cleaning solution to keep the glass clear. A neck strap is non-negotiable; the cheap ones included with budget binoculars are often uncomfortable and prone to breaking. For heavier hunting or astronomy models, a tripod adapter is essential to prevent neck strain and hand fatigue, adding another $20–$50 to your initial outlay.
When to invest in protection
A hard case or semi-rigid pouch protects against drops and scratches. If you hunt in rough terrain or travel frequently, this is a wise investment. Without it, a single drop on a rock can crack the roof prisms, rendering the binoculars useless instantly. The cost of a good case is a fraction of the cost of replacing the entire unit.


As an Amazon Associate, we may earn from qualifying purchases.
Binoculars: what to check next
Choosing the right optics often comes down to three trade-offs: magnification, weight, and budget. Below are answers to the most common questions readers ask before buying.
No comments yet. Be the first to share your thoughts!