
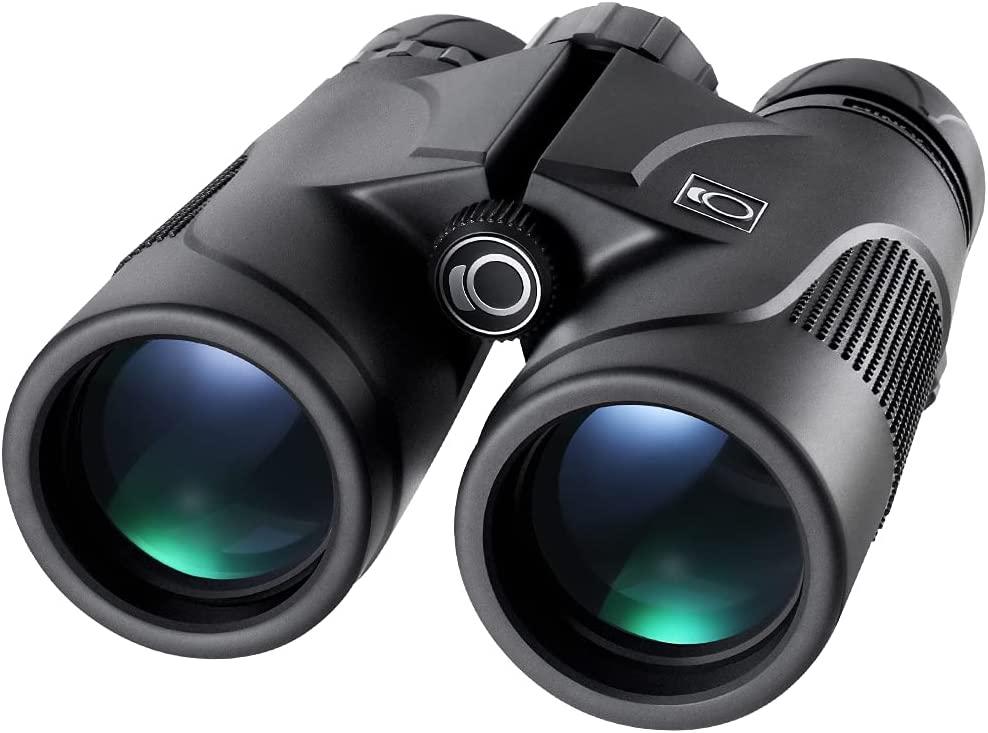
Binoculars budget
Finding the right binoculars is a tradeoff between optical glass, build quality, and what you are willing to carry. You do not need to spend a fortune to get clear images, but you do need to match the price tier to your actual use case. A $100 pair will serve a casual backyard birder well, while a serious hunter or astronomer often needs to invest $300 or more for superior low-light performance and durability.
Under $150: The Entry Tier
At this price point, you are paying for basic functionality. Expect plastic housings and standard glass coatings. These are perfect for children, occasional day hikes, or stadium events where maximum clarity is not the priority. Look for brands like Celestron or Bushnell for reliable entry-level models. They are lightweight and durable enough for rough handling, but the image may feel slightly dimmer in early morning or late evening light.
$150 to $300: The Sweet Spot
This is where most serious hobbyists find their best value. You get improved lens coatings that brighten the image, better focus mechanisms, and often waterproofing. The Nikon Monarch M7 10×42 is a standout here, offering sharpness that rivals much more expensive optics. For hunting, this range often includes models with rugged rubber armor and reliable eye relief, making them comfortable for extended viewing sessions without eye strain.
$300 and Up: Premium Optics
High-end binoculars use premium glass types (like ED or HD glass) to eliminate color fringing and provide exceptional sharpness across the entire field of view. Brands like Zeiss, Swarovski, and Leica dominate this space. The Zeiss SFL 10×40 is a top choice for birders who need pinpoint clarity on distant subjects. The tradeoff is weight and cost; these are investments that last decades, but they are overkill if you only glance at birds from your porch.
The Magnification Trap
A common mistake is buying higher magnification than you can handle. While 12x50 or 20x50 binoculars sound impressive, they magnify hand shake, making the image jittery unless you have a steady tripod or exceptional arm strength. For most people, 8x or 10x magnification is the practical limit for handheld use. Higher magnification also narrows the field of view, making it harder to track moving birds or locate game in dense brush. Always prioritize stability and light transmission over raw zoom power.
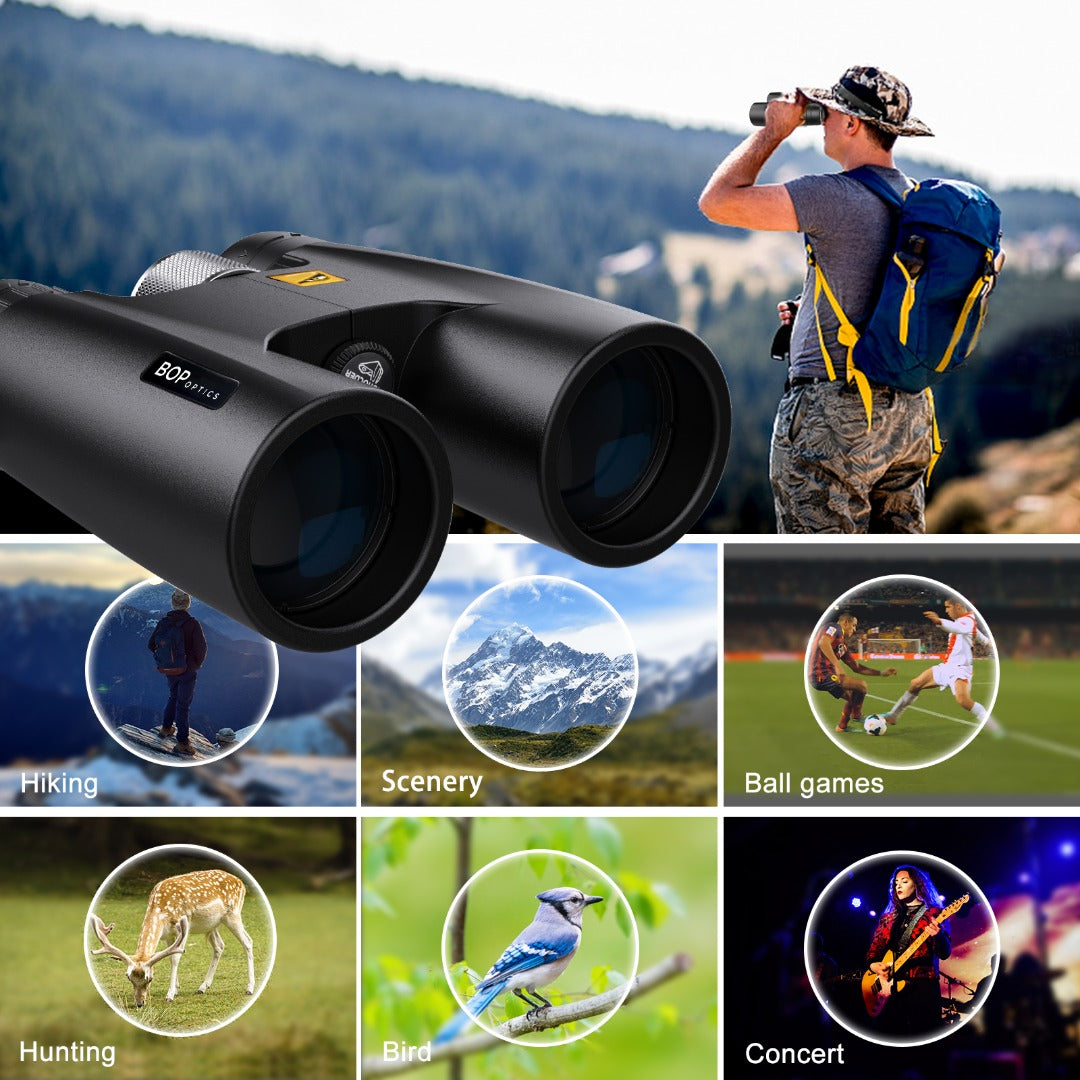
Shortlist real options
The best binoculars depend on how you plan to use them. A set that excels at spotting birds in a dense forest might be too shaky for stargazing or too heavy for a long hunting trek. We compared the top-rated models across birding, hunting, and astronomy to help you find the right balance of magnification, light gathering, and portability.
The following comparison table highlights the strongest contenders in the current market. These picks represent a mix of flagship performance and high-value alternatives that consistently rank well in independent testing and user reviews.
| Model | Spec | Best For | Key Note |
|---|---|---|---|
| Zeiss SFL 10×40 | 10x40 | Overall / Birding | Sharp optics, durable, premium price |
| Nikon Monarch M7 10×42 | 10x42 | Value / General Use | Excellent brightness for the price |
| Vortex Viper HD 10×42 | 10x42 | Hunting / Durability | Lifetime warranty, rugged build |
| Celestron SkyMaster 20×50 | 20x50 | Astronomy | High magnification, tripod recommended |
| Leica Trinovid 10×42 | 10x42 | Premium / Clarity | Top-tier contrast, heavy investment |
10x42 vs. 12x50: Daylight vs. Low Light
Choosing between 10x42 and 12x50 binoculars comes down to light gathering versus stability. The 10x42 offers a wider field of view and is easier to hold steady by hand, making it ideal for tracking birds in daylight or scanning landscapes. The 12x50’s larger objective lenses gather more light, providing a brighter image in dusk or dense woods, but the higher magnification amplifies hand shake, often requiring a tripod for comfortable viewing.
10x50 vs. 20x50: General Use vs. Astronomy
For general outdoor use, 10x50 binoculars provide a good balance of magnification and light transmission. They are heavier than 10x42s but offer a brighter view in low light. The 20x50 binoculars are specialized tools. The high magnification makes handheld viewing nearly impossible due to vibration, so they are best suited for astronomy or stationary observation of distant objects like wildlife on a far ridge.


As an Amazon Associate, we may earn from qualifying purchases.
How to inspect expensive failure points
Binoculars are precision optical instruments, and the most expensive components to replace are the prisms and the internal seals. Once light leaks in or alignment shifts, the unit is often beyond repair. Before you commit to a high-end pair, or if you are buying used gear, run through this inspection checklist to catch costly defects early.
Shine a bright flashlight directly into the objective lenses (the large front glass). Look through the eyepieces for any web-like structures, spots, or cloudy haze. Fungus eats into the anti-reflective coatings and reduces contrast permanently. Haze indicates seal failure and moisture intrusion, which will eventually destroy the prisms. Even a small amount of fungus is a dealbreaker for long-term reliability.
Collimation is the precise alignment of the two optical tubes. Point the binoculars at a straight, high-contrast edge like a power line or the corner of a building. Focus on the center, then slowly close one eye and then the other. If the image shifts or splits at the edge of the field of view, the binoculars are de-collimated. This is a complex factory repair that often costs more than the binoculars themselves.

Rotate the central focus wheel smoothly through its entire range. It should feel consistent, not gritty or loose. Check the right-eye diopter ring (usually on the right eyecup); it should lock securely into place. A loose diopter means you will constantly have to refocus when switching eyes, which is frustrating during fast-moving birding or hunting scenarios. Also, ensure the eyecups twist up and down without wiggling.
Look closely at the hinge area and the focus wheel seams. These are the primary entry points for water and dust. If you see gaps, cracked rubber, or corrosion on the screws, the waterproofing is compromised. Check the exterior coating for deep scratches or peeling, which can indicate poor build quality or previous rough handling. A solid, tight seal is your best defense against the elements.
Plan for ownership costs
Buying a pair of binoculars is just the first expense. The real cost of ownership comes from maintenance, protection, and the hidden price of using the wrong tool for the job. A cheap pair that breaks after a season or produces eye strain after an hour is far more expensive than a durable mid-range model.
Maintenance and care
Binoculars are precision optical instruments. They require regular cleaning with microfiber cloths and proper lens fluid, plus occasional nitrogen purging if seals fail. Without this care, fungus can grow inside the barrels, ruining the image permanently. Budget models often use inferior seals that degrade faster, meaning you will spend more on repairs or replacement sooner.
The cost of poor ergonomics
Magnification and weight dictate how long you can use your binoculars comfortably. A 12x50 pair gathers more light than a 10x42, making it better for dim conditions, but it is also heavier and has a narrower field of view. For birding, the 10x42 is usually the better choice because it is easier to hold steady and track moving targets. If you choose high magnification like 20x50 for stargazing, you accept a smaller field of view and the need for a tripod, adding to your setup costs.
When cheap stops being cheap
Entry-level binoculars often use ED glass substitutes that degrade color accuracy and contrast. Over time, this leads to eye fatigue and missed details. Investing in a model with better optics and build quality, like the Nikon Monarch M7 or Zeiss SFL series, reduces the likelihood of replacement and provides a clearer, more comfortable viewing experience for years.


As an Amazon Associate, we may earn from qualifying purchases.
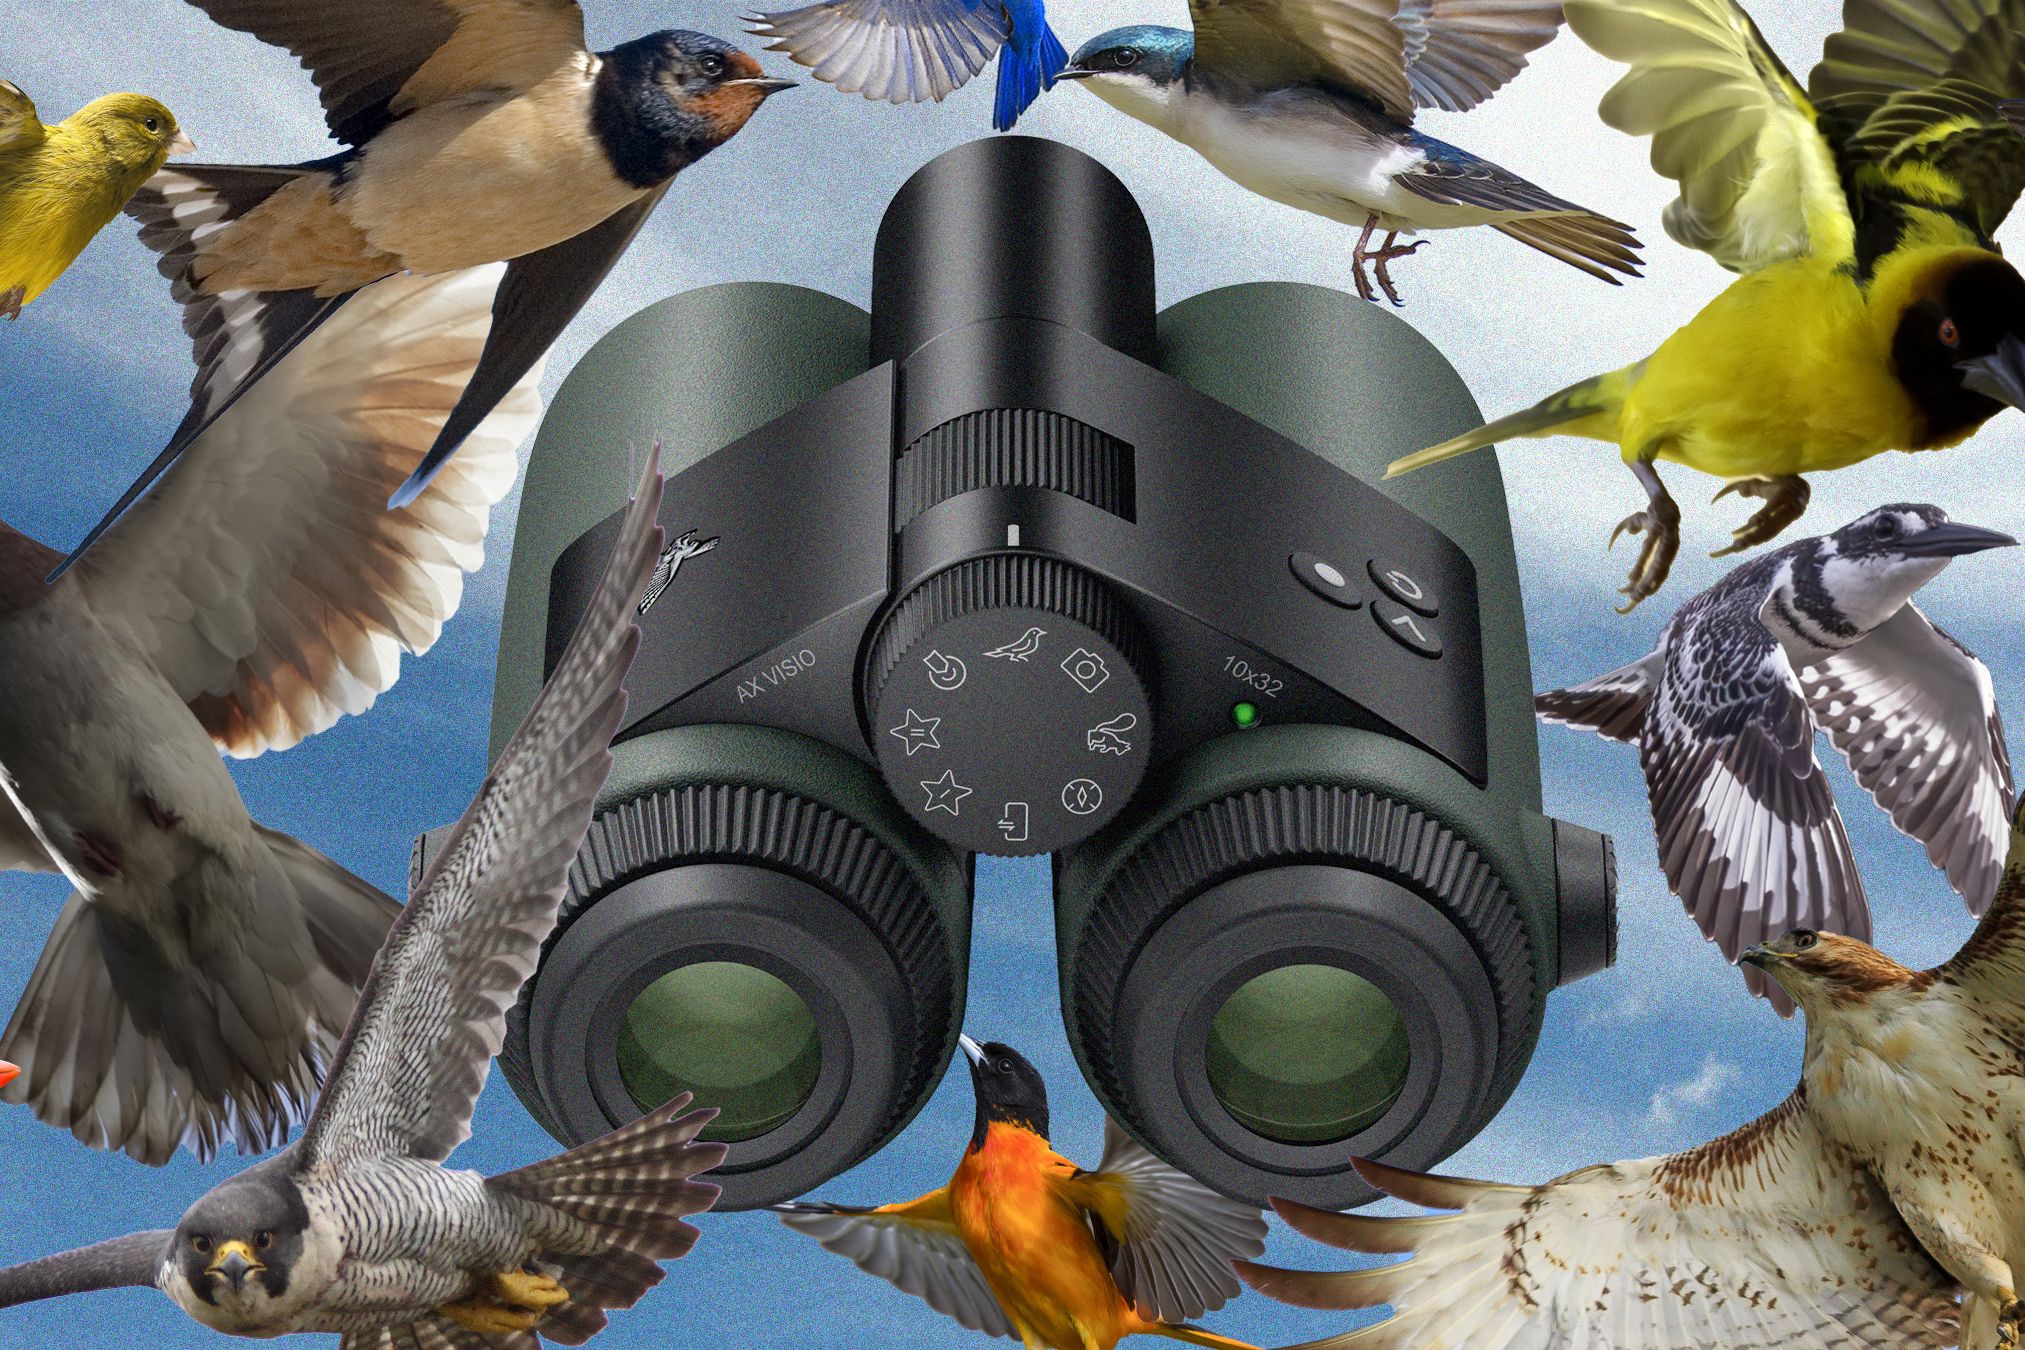
Binoculars: what to check next
Choosing the right magnification and objective lens size often comes down to how you plan to use them. A higher number in the first position means more zoom, while the second number refers to the lens diameter, which dictates how much light enters the scope. Here are the answers to the most common questions about binocular specs.
What is better, 12x50 or 10x42 binoculars?
The 12x50 binoculars are better for low-light conditions because the larger 50mm objective lenses gather significantly more light than the 42mm lenses on the 10x42 model. This makes the 12x50 ideal for dawn, dusk, or dense forest viewing. However, the 10x42 is generally the better all-around choice for birding and hiking. The lower magnification provides a wider field of view and is easier to hold steady without a tripod, while the smaller size makes it much more comfortable to carry for long periods.
What is better, 10x50 or 20x50 binoculars?
The 10x50 binoculars offer a wider field of view and are easier to use for tracking moving subjects like birds or game in the field. The 20x50 binoculars provide much higher magnification, which is excellent for stargazing or viewing distant static objects like deer at a far distance. However, at 20x magnification, even the slightest hand movement causes the image to shake violently, often making it unusable without a sturdy tripod. For most general outdoor activities, the 10x50 is the more practical and versatile option.
No comments yet. Be the first to share your thoughts!